Physical Address
304 North Cardinal St.
Dorchester Center, MA 02124
Physical Address
304 North Cardinal St.
Dorchester Center, MA 02124
When facing a Geekvape not charging situation, troubleshooting the issue systematically is crucial.
While checking the charging cable and port for any visible damage or dirt buildup is a good initial step, certain underlying factors may contribute to this problem.
Understanding the common causes and potential solutions can significantly aid in resolving the issue effectively.
By methodically addressing each aspect, one can often pinpoint the root cause and implement the necessary corrective measures.
One of the primary reasons for charging issues with Geekvape devices stems from the battery being depleted due to heavy use or inadequate recharging. A dead battery can hinder the proper functioning of the vape pen, leading to charging problems.
Additionally, dirty contacts on the charging port can interfere with the connection between the charger and the device, resulting in inefficient charging. Using a faulty charger, whether it is damaged or incompatible with Geekvape devices, can also contribute to charging issues.
Furthermore, employing an incorrect charging method for Geekvape devices that have specific requirements may prevent the battery from charging correctly. Lastly, a damaged battery, possibly caused by exposure to extreme conditions, can impede the charging process of Geekvape devices.
Understanding these common causes of charging issues is crucial in troubleshooting and resolving problems with charging your Geekvape device effectively.
Upon inspecting the charging cable for your Geekvape device, it is essential to check for any visible signs of damage such as fraying or exposed wires. To ensure your device charges properly, follow these steps:
Regularly inspecting the battery connection of your Geekvape device is crucial for ensuring proper charging functionality and performance. To begin, check that all components involved in the battery connection are securely attached and not loose.
Inspect the battery terminals for any signs of dirt, debris, or corrosion, as these can disrupt the charging process. Ensure that the battery is correctly aligned and inserted into the device to establish a strong connection for charging to occur effectively.
If you notice any buildup on the battery contacts, use a dry cloth or cotton swab to clean them thoroughly. Additionally, verify that the charging port on the device is clean and free of any obstructions that could impede the charging process.
To resolve potential charging issues with your Geekvape device, it is essential to address any software or firmware problems that may be affecting its performance. Here are some key steps to consider:
Examining the charging port for any obstructions or damage is crucial when troubleshooting charging issues with your Geekvape device. Check for any debris or dirt that may be obstructing the connection between the charging cable and the port. Use a soft brush or compressed air to gently clean the port without causing any damage.
Additionally, inspect the port for any signs of physical damage or bent pins that could be impacting the charging process. Ensure that the charging cable is securely plugged into the port and the power source to establish a stable connection for charging. If the port is loose or not holding the cable properly, it may be necessary to consider getting it repaired or replaced by a professional to ensure a reliable charging experience.
Prioritize maintaining a secure and stable connection between the charging cable and port to resolve any charging issues effectively.
How can you ensure optimal charging performance for your Geekvape device? Keeping your device and contacts clean is crucial to maintaining proper charging functionality. Here are some essential steps to clean your device and contacts effectively:
Identifying the faulty component causing the charging issue in your Geekvape device is essential for effective troubleshooting and resolution. When faced with a charging problem, it is crucial to ascertain whether the battery, charging cable, or charging port is the root cause of the issue.
To rectify the problem, it may be necessary to replace the faulty component with a new, functioning one to restore proper charging functionality. It is important to ensure that the replacement component is compatible with your Geekvape device to avoid further complications.
After replacing the suspected faulty component, it is recommended to test the new component thoroughly to verify that the charging issue has indeed been resolved. By following these steps diligently and systematically, you can address charging issues with your Geekvape device effectively and ensure its optimal performance.
When your vape is not charging, it is essential to troubleshoot potential issues. Check the charging cable, clean the port, test the charger, inspect the battery, and ensure correct charging methods. These steps can help identify and resolve the problem promptly.
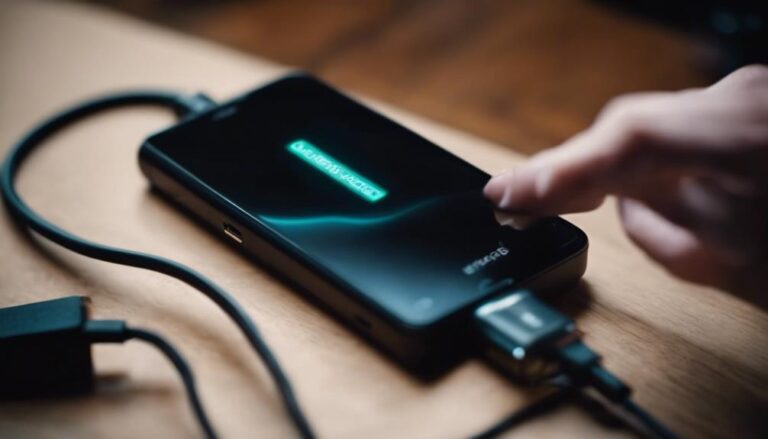
The lack of illumination on a vaping device during charging may indicate a connectivity issue, battery problem, or malfunctioning LED indicator. Properly inspecting the charging components and device settings can help identify and address the underlying cause.
Geekvape devices do not feature a physical reset button. To reset the device, remove and reinsert the battery or press the fire button five times. If unresponsive, try reattaching the pod. Contact Geekvape support for specific reset instructions.
A flashing vape typically indicates a charging issue due to a dead battery or poor connection. Troubleshoot by inspecting the battery, charger, and connections. Promptly addressing the flashing and charging problem can prevent further damage.
In conclusion, addressing common causes of charging issues such as inspecting the charging cable, checking the battery connection, addressing software or firmware problems, troubleshooting the charging port, cleaning the device and contacts, and replacing faulty components can help resolve Geekvape not charging problems.
By following these steps systematically, users can effectively troubleshoot and fix charging issues with their Geekvape devices.