Physical Address
304 North Cardinal St.
Dorchester Center, MA 02124
Physical Address
304 North Cardinal St.
Dorchester Center, MA 02124
If you've found yourself facing the frustrating issue of a Tempspike probe that refuses to charge, rest assured that there are steps you can take to troubleshoot and potentially resolve this common concern.
The process of diagnosing and fixing charging problems with the Tempspike probe involves a series of systematic checks and actions that could lead to a successful resolution.
By following a few simple guidelines and best practices, you may uncover the underlying cause of the charging issue and restore your probe to full functionality.
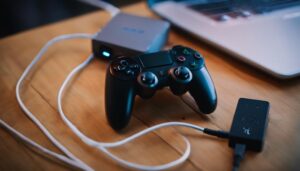
When troubleshooting the Tempspike probe not charging issue, it is imperative to meticulously examine the power source. To ensure a successful charging process, make sure that the power source is connected properly to the charging dock. It is essential to verify that the charging dock is securely plugged into a functional power outlet. Product reviews often highlight the importance of this step to avoid charging issues. Additionally, checking if the charging dock's LED indicator lights up when the probe is placed on it can provide valuable insights into the charging status.
Inspecting the probe's charging contacts for any debris or dirt is crucial as these may hinder the charging process. Product reviews often mention the significance of keeping these contacts clean for optimal performance. If issues persist, trying a different USB power source or cable can help eliminate potential charging problems. Ensuring a reliable power source is fundamental in resolving the Tempspike probe not charging issue efficiently.
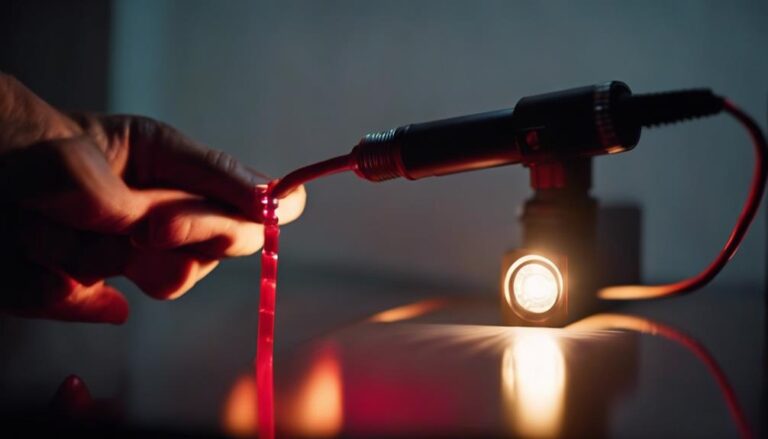
Inspecting the integrity of the charging cable is essential in troubleshooting the Tempspike probe not charging issue effectively. Begin by ensuring that the charging cable is securely connected to the probe to facilitate proper charging.
Look for any visible damage or fraying on the charging cable, as these issues can impede the charging process. Additionally, it is crucial to verify that the charging port on the probe is clean and free of debris or obstructions that could inhibit the connection.
If the charging cable appears to be in good condition and the port is clean, consider using a different power source or USB port to rule out any issues with the current charging setup.
To ensure optimal charging performance, carefully clean the charging port of the Tempspike probe using a soft brush or compressed air to remove any debris or dust accumulation.
It is crucial to avoid using liquids or cleaning solutions during this process to prevent any damage to the port. Make sure to inspect the port for any visible obstructions or blockages that may be hindering the charging process.
Additionally, ensure that the charging cable is securely connected to the port to establish a proper charging connection. If the port appears damaged or faulty even after cleaning, it is advisable to contact customer support for further assistance or to inquire about a replacement.
Keeping the charging port clean and free from debris is essential for maintaining the efficiency of the charging process and ensuring that the Tempspike probe charges effectively when needed.
After ensuring that the charging port is clean and free from debris, the next step to troubleshoot the Tempspike probe not charging is to restart the device by following these steps.
Updating the firmware of your Tempspike probe can effectively resolve charging issues and improve overall performance. Firmware updates play a crucial role in addressing charging problems by providing software enhancements that optimize the probe's functionality.
Regularly updating the firmware ensures that the probe maintains optimal performance and remains compatible with charging mechanisms. Connectivity issues between the probe and the charging station can often be resolved through firmware updates, as they help streamline communication protocols.
Additionally, new firmware versions may contain bug fixes specifically targeting problems related to charging, further enhancing the probe's charging capabilities. By following the provided instructions for updating the firmware, users can effectively troubleshoot and fix any issues with the probe not charging.
Keeping the firmware up to date is essential for maintaining the probe's functionality and ensuring a seamless charging experience.
Begin by removing the probe from the charger and reinserting it to reset the probe settings. This simple step can often resolve issues with the charging process.
Make sure the probe is properly aligned and making good contact with the charging pins. Sometimes, a slight misalignment can prevent the probe from charging correctly.
Additionally, check for any debris or dirt on the probe or charging pins that could be interfering with the charging connection. Keeping these components clean is essential for optimal charging performance.
Allow the probe to charge for a sufficient amount of time to ensure that the settings are reset properly. If after trying these steps the probe still does not charge, it may be necessary to contact customer support for further assistance.
In the event that troubleshooting steps fail to resolve the Tempspike probe charging issue, customers can promptly seek assistance by contacting MEATER's customer support team through email, phone, or live chat.
MEATER offers customer support services from Monday to Friday, 9 am to 5 pm (PST), ensuring a timely resolution of any charging problems encountered. By reaching out to MEATER's support team, customers can receive expert troubleshooting guidance tailored to effectively address the probe charging issue.
Utilizing contact methods such as email ([email protected]) or phone (1-888-993-8593) enables users to directly engage with MEATER's dedicated customer support professionals. These support representatives are equipped to provide detailed instructions and tailored solutions to assist in resolving any charging issues related to the Tempspike probe efficiently.
Contacting customer support is a proactive step towards ensuring that the charging problem is identified and resolved effectively, allowing users to utilize their Tempspike probe seamlessly for their cooking needs.
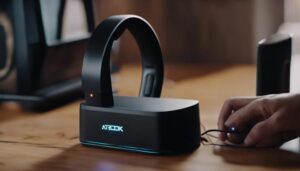
To determine if your tempspike is charging, look for a charging icon on the device's display or a red LED light on the charging block. Ensure a secure connection between the probe and the block for effective charging.
The Thermopro probe may not be charging due to issues with the charging cable or port connection. Check for debris, ensure a secure connection, try different cables/power sources. If the problem persists, contact customer support for assistance.
To charge a Tempspike probe, ensure proper insertion into the MEATER charger block. LED light on the block indicates charging status. Contact between probe and charging pins is vital. A fully charged probe provides up to 24 hours of continuous monitoring.
The battery life of the Tempspike probe is approximately 24 hours of continuous use. It charges wirelessly on the MEATER Block or MEATER charger. A fully charged probe can be used for multiple cooking sessions.
In conclusion, troubleshooting a Tempspike probe that is not charging involves the following steps:
If the issue persists, contacting customer support for further assistance and possible replacement options is recommended. By following these steps, you can effectively address and resolve charging issues with your Tempspike probe.