Physical Address
304 North Cardinal St.
Dorchester Center, MA 02124
Physical Address
304 North Cardinal St.
Dorchester Center, MA 02124
When facing a Ryobi One battery that refuses to charge, troubleshooting can be a methodical process. From checking the battery connections to exploring potential charger issues, each step requires attention to detail.
However, what if the problem goes beyond the battery itself? Could external factors be at play, affecting the charging process? Sometimes, a solution may not be evident at first glance, prompting a deeper look into the intricacies of battery maintenance and performance.
So, what hidden factors might be influencing your Ryobi One battery's charging woes?
Inspect the battery connections to ensure proper alignment and functionality. Before initiating the charging process, make sure that the battery is securely connected to the charger and the charger is correctly plugged into a power source. A loose connection can impede the charging process and prevent the battery from reaching its full capacity. Additionally, examine the battery terminals for any signs of debris or corrosion that could obstruct the flow of electricity. If present, clean the terminals thoroughly to guarantee optimal contact between the battery and the charger.
To ensure that the battery is fully charged, it is essential to have a strong and uninterrupted connection between the battery and the charger. Any disruptions in this connection can result in an incomplete charging cycle, leaving the battery undercharged and unable to function efficiently. By inspecting and maintaining the battery connections, you can facilitate a smooth and effective charging process, ultimately ensuring that your Ryobi One battery is fully charged and ready for use.
To ensure optimal charging performance for your Ryobi One battery, it is crucial to meticulously clean the battery terminals using a small brush or sandpaper to remove any dirt, corrosion, or debris that may impede proper electrical contact. Over time, oxidation or rust can build up on the terminals, hindering the flow of electricity between the battery and the tool.
By cleaning both the battery terminals and the corresponding contacts on the tool, you can ensure a good connection for efficient power transfer. A little bit of dirt or corrosion can lead to big charging problems, so taking the time to clean the terminals can make a significant difference.
A clean and tight connection is key to resolving charging issues; ensuring that the terminals are free from any obstructions will have your Ryobi One battery good to go for your next project. Regularly inspecting and cleaning the battery terminals is a simple yet effective way to maintain proper functionality and prolong the battery's lifespan.
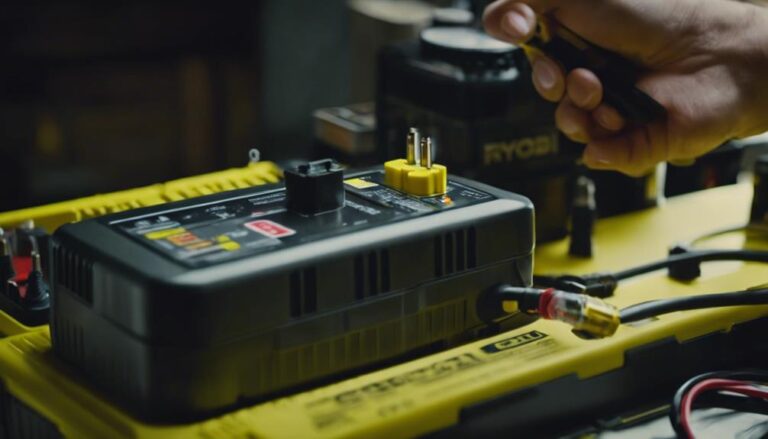
Upon examination of the charger for your Ryobi One battery, carefully look for any physical damage such as frayed cords or burnt components. It is crucial to ensure the charger is in good condition to prevent any safety hazards and charging issues.
In addition to visible damage, consider the following points to thoroughly inspect the charger:
When troubleshooting issues with a Ryobi One battery not charging, one effective step to consider is using a different charger that is compatible with the battery's specifications.
Different Ryobi One batteries may require specific chargers designed for their particular voltage and capacity. Using an incompatible charger can lead to issues with the charging process, resulting in the battery not charging properly.
It is crucial to ensure that the charger you are using is compatible with your Ryobi One battery to avoid any charging problems. Some chargers come equipped with indicators or lights that signal when the battery is charging or fully charged, providing visual feedback on the process.
If, even after using a different charger, the Ryobi One battery is still not charging, it may indicate a potential issue with the battery itself that requires further investigation. Switching to a compatible charger is a simple yet important troubleshooting step that can help resolve charging issues efficiently.
Have you considered testing the charger with another compatible Ryobi One battery to pinpoint the source of the charging issue? This simple step can help determine whether the problem lies with the battery or the charger itself.
By following these steps, you can efficiently troubleshoot the charging problem:
How can the proper functioning of the Ryobi One battery be restored when encountering charging issues?
One potential solution is to reset the battery protection circuit. If the Ryobi One battery is not charging correctly, it may be due to issues with the protection circuit. Resetting this circuit can help address problems related to over-discharge or overcharge protection mechanisms.
To reset the battery protection circuit, start by disconnecting the battery from both the charger and the power tool. After that, reinsert the battery and attempt to charge it again. This simple step can sometimes kickstart the charging process and allow the battery to charge normally once more.
However, if resetting the protection circuit does not resolve the issue, it is advisable to seek professional assistance for further diagnosis and potential repair.
To effectively restore proper charging functionality to a Ryobi One battery, the identification and replacement of any faulty cells within the battery is a crucial step. Ryobi One batteries typically consist of multiple cells, and if one or more cells are faulty, the battery may not charge properly. Detecting faulty cells can be done by testing each cell's voltage output and capacity. By replacing these faulty cells, you can potentially save costs compared to purchasing a new battery. Moreover, properly replacing faulty cells can significantly extend the overall lifespan of the Ryobi One battery.
When encountering issues with your Ryobi One battery not charging, seeking assistance from Ryobi customer support can offer valuable troubleshooting guidance and potential warranty insights. Ryobi customer support can be reached at 1-800-525-2579, providing a convenient avenue for addressing charging problems.
The team of representatives is well-versed in Ryobi products and can offer tailored recommendations to resolve common battery charging issues efficiently. By contacting Ryobi customer support, users can benefit from expert advice on troubleshooting tips specific to the Ryobi One battery.
Moreover, engaging with customer support can streamline the process of diagnosing and resolving issues with the battery, ensuring a smoother experience for users. Additionally, exploring potential warranty coverage for the battery through Ryobi customer support can provide clarity on available solutions.
If your Ryobi battery is not charging, it could be due to a faulty charger, battery pack, or issues with the charging port. Depleted batteries, overheating, or over-discharging may also be causes. Contact Ryobi support for assistance.
To reset your RYOBI battery, fully discharge it, allow a 30-minute cooling period, and then recharge it with the appropriate charger. This process can recalibrate internal circuitry and enhance charging performance, addressing potential issues efficiently.
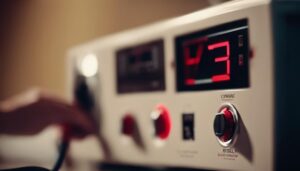
To determine if a Ryobi charger is faulty, check for abnormal LED indicator behavior, test output voltage with a multimeter, examine power cord integrity, and try charging a different battery. Contact Ryobi's support or an authorized service center for further assistance.
To address a battery that won't charge, troubleshooting steps involve assessing the charger, battery terminals, and voltage levels. Resetting the battery and considering replacement or repair options may be necessary if issues persist despite troubleshooting efforts.
In conclusion, troubleshooting a Ryobi One battery that is not charging involves:
By following these steps and taking proper precautions, you can potentially fix the issue and ensure the battery's optimal performance.