Physical Address
304 North Cardinal St.
Dorchester Center, MA 02124
Physical Address
304 North Cardinal St.
Dorchester Center, MA 02124
Facing the challenge of a Google Nest doorbell not charging can be a frustrating experience for homeowners seeking continuous security and convenience.
However, by employing a systematic approach to troubleshooting, users can often resolve this issue efficiently.
From checking power sources to firmware upgrades and contacting support if needed, the process of addressing a non-charging Nest doorbell is both practical and essential in ensuring the smooth functioning of this vital home device.
To ensure efficient charging of your Google Nest Doorbell, verifying the proper connection to a functional power outlet is paramount.
When facing charging issues, the first step is to diagnose whether the power outlet being used is delivering electricity as expected. Test the outlet with another functioning device to confirm that power is being supplied adequately.
If the Nest Doorbell still fails to charge, try using a different power source to rule out issues with the current one. It is essential to ensure there are no power supply problems hindering the charging process of your Nest Doorbell.
A stable and secure connection is crucial for the Nest Doorbell to charge at its full capacity. By troubleshooting the power outlet and exploring alternative power sources, you can address charging issues effectively and ensure that your Google Nest Doorbell remains powered up and operational.
When troubleshooting charging issues with your Google Nest Doorbell, one effective step to consider is resetting the device by pressing and holding the button on the back for approximately 10 seconds to initiate a reboot. Resetting the Nest Doorbell can be instrumental in resolving charging issues by refreshing the device's software and settings. This process is akin to rebooting a computer and can often fix minor software glitches that may be hindering the charging process.
After resetting the Nest Doorbell, monitor the charging status to observe if the issue has been rectified. If the Nest Doorbell still fails to charge post-reset, delve deeper by examining the power source, wiring, and firmware for further troubleshooting.
Inspecting the doorbell wiring and power source is crucial in diagnosing charging issues with the Google Nest Doorbell. Begin by checking the wiring for any signs of damage, such as fraying or exposed wires, as these can obstruct the charging process.
It is essential to ensure that the power source delivering power to the Nest Doorbell is functioning correctly and providing the necessary voltage for charging. Verify the connection between the doorbell and the power source to guarantee it is secure and not loose, as a stable connection is vital for proper charging.
Additionally, make sure that the power adapter being used is compatible with the Nest Doorbell and is not damaged, as faulty adapters can impede the charging process. If utilizing a wired connection, double-check that the wiring connections are secure and correctly attached to the Nest Doorbell to facilitate the charging process effectively.
Upgrading the firmware of your Google Nest Doorbell can effectively resolve software-related charging issues and enhance the device's overall performance and stability.
To ensure your doorbell is operating optimally, consider the following:
To upgrade the firmware of your Google Nest Doorbell, you can conveniently check for updates through the Google Home app or visit the Nest website.
Ensuring the uninterrupted flow of power is essential for the proper functioning of the Google Nest Doorbell. A key step in this process is inspecting the house circuit breaker.
The house circuit breaker plays a crucial role in maintaining a steady power supply to the doorbell. It is important to check the circuit breaker panel for any signs of flipped switches or blown fuses that could be causing charging issues. If the circuit breaker has tripped, it can be reset by flipping the corresponding switch back to the 'ON' position.
However, a malfunctioning circuit breaker can disrupt the flow of electricity to the Nest Doorbell, leading to persistent charging problems. In such cases, it is advisable to consult an electrician to thoroughly inspect and address any underlying issues with the house circuit breaker to ensure the doorbell receives adequate power for charging.
Given the sensitivity of the Google Nest Doorbell to extreme weather conditions, it is crucial to vigilantly monitor the weather and temperature to ensure optimal charging performance.
For prompt resolution of technical issues related to your Google Nest Doorbell, reaching out to the Google Nest customer support team is recommended. If you encounter charging issues with your Nest doorbell, contacting Google Nest customer support can help you troubleshoot the problem effectively.
The troubleshooting process may involve checking the power supply to the device, ensuring the firmware is up to date, and addressing common reasons for charging issues with Nest Hello. Google Nest customer support can guide you through these steps and provide assistance tailored to your specific situation. Additionally, they may recommend professional installation services if needed.
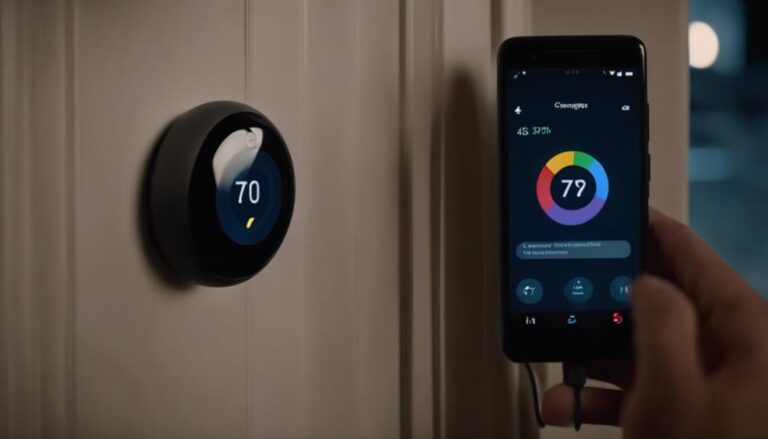
To determine whether your Google Nest Doorbell is charging, monitor the battery icon in the Nest app for the presence of a lightning bolt symbol indicating active charging.
Look for the lightning bolt symbol next to the battery icon to confirm charging status.
Ensure the battery percentage increases over time while connected to power to verify charging.
Check that the battery level doesn't drop while the doorbell is plugged in, as this could indicate a charging issue.
If your Nest Doorbell does not display signs of charging despite being connected to power, it may be necessary to contact Google Nest support for further assistance.
Monitoring the battery icon for the lightning bolt symbol and observing the battery percentage changes are crucial steps in assessing the charging status of your Google Nest Doorbell.
When encountering charging issues with your Google Nest Doorbell, it is essential to perform a series of troubleshooting steps to identify and resolve the underlying cause effectively.
Start by verifying the connection to the power outlet and testing it with another working device to ensure adequate power delivery. Reset the Nest Doorbell, check the wiring and power source, upgrade the firmware, and inspect the house circuit breaker for any charging issues. Ensure there are no power supply problems hindering the charging process and that a secure connection is established for full charging capacity.
It is crucial to troubleshoot systematically, following steps to verify the charging status and considering all possible fixes before seeking expert support if the issues persist. By taking these measures and being thorough in your troubleshooting approach, you can address charging issues with your Nest Doorbell efficiently and effectively.
The Nest Doorbell battery may not charge due to various factors such as degraded battery health, malfunctioning charger cables, faulty wiring connections, outdated device software, or tripped circuit breakers. Proper diagnosis and troubleshooting are essential.
To reset your Google Nest Doorbell battery, press and hold the reset button near the micro USB port on the back of the device for 10 seconds. This process can help troubleshoot charging issues and reset any software glitches.
To determine if your Nest Doorbell is charging, check the LED light pattern while connected to a power source. Utilize the Nest app to monitor the battery level indicator and receive notifications confirming the charging status. Regularly checking the app ensures accurate charging progress tracking.
The Nest Hub may not charge due to a faulty power adapter, cable, or insufficient power supply. Check for software issues or updates affecting the charging process. Ensure a secure power connection. Troubleshoot by using a different outlet or adapter if needed.
In conclusion, troubleshooting steps for fixing a Google Nest doorbell not charging include:
Additionally:
These steps can help identify and resolve charging issues. Contacting Google Nest customer support or seeking expert help may be necessary for further assistance.