Physical Address
304 North Cardinal St.
Dorchester Center, MA 02124
Physical Address
304 North Cardinal St.
Dorchester Center, MA 02124
If you've encountered the frustrating situation of your Chromebook not charging, it's essential to follow a systematic approach to resolve this issue effectively.
From inspecting the charging port for potential damage to checking the power source and trying alternative adapters, there are several troubleshooting steps to consider.
However, the solution might not always be straightforward, prompting the need for a deeper exploration of potential causes and solutions.
Stay tuned to uncover these essential strategies to get your Chromebook charging seamlessly once again.
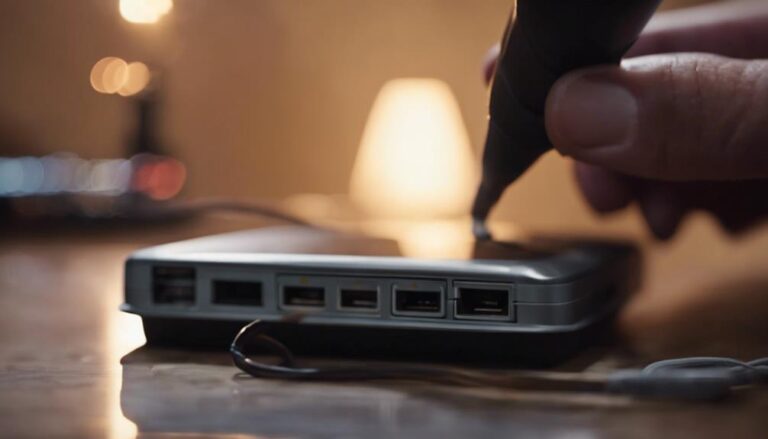
Charging failure in Chromebooks often stems from common issues such as improperly connected chargers. When the charger is not securely plugged into the Chromebook or the wall outlet, the battery may not receive the necessary power to charge. Additionally, frayed charger cables, damaged adapters, or power reception issues can also lead to charging problems. It is crucial to ensure that all connections are secure and free of damage to facilitate the charging process effectively.
Extended periods without charging can cause battery depletion, resulting in charging failure. If the Chromebook has not been charged for a while, it is recommended to perform a hard reset to kickstart the charging process. Moreover, hardware issues within the Chromebook itself can also contribute to charging problems. In such cases, it may be necessary to seek professional assistance to diagnose and repair any internal components affecting the charging functionality.
Proper maintenance of the power cable and outlets is essential in resolving potential charging issues with Chromebooks. When troubleshooting charging problems, it is crucial to check the power cable and outlets for any issues. Here are three key steps to ensure effective charging:
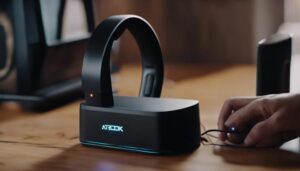
Upon inspection of the LED indicator light on your Chromebook, you can swiftly determine its charging status. The LED indicator light serves as a valuable tool in diagnosing charging issues. A solid LED light typically indicates that your Chromebook is successfully charging. However, if you notice a blinking LED light, this may signify a potential charging problem or a low battery that needs attention. In contrast, the absence of any LED light could point towards issues with the charger, cable, or even the charging port on your Chromebook.
Monitoring the behavior of the LED indicator light is an essential step in troubleshooting any charging problems you may encounter with your Chromebook. By paying close attention to the LED light patterns, you can quickly identify whether the device is receiving power as intended. This simple yet effective method can help you pinpoint the root cause of any charging issues and take appropriate actions such as checking the charger, cable connections, or addressing a low battery situation promptly.
To initiate a troubleshooting step for potential charging issues on a Chromebook, consider performing a system restart to reset the device's software and address any minor technical glitches. Restarting the Chromebook can often help in resolving charging problems efficiently. Here are some key points to consider:
If after the restart the Chromebook still doesn't charge, further troubleshooting steps may be required to diagnose and resolve the underlying issue.
Resetting the Embedded Controller (EC) through an EC reset can be a valuable troubleshooting step to address charging issues on a Chromebook. When a Chromebook is experiencing charging problems such as not recognizing the charger or displaying erratic charging behavior, performing an EC reset can help reset the charging system. This process involves disconnecting the battery to clear any residual power that may be causing the issue.
The EC reset is a software-based reset that can effectively troubleshoot charging issues without impacting user data or settings on the Chromebook. It is a practical step to take before seeking professional assistance, especially if other troubleshooting methods have not resolved the problem. By resetting the Embedded Controller, the Chromebook's charging system can be refreshed, potentially resolving any underlying issues causing the charging problems. If your Chromebook is exhibiting charging issues, consider performing an EC reset as a proactive troubleshooting measure.
Running the AC Adapter Verification test is a crucial diagnostic step in troubleshooting charging issues on a Chromebook. This test checks the functionality of the charging adapter and helps determine if the AC adapter is delivering power to the Chromebook.
By running the verification test, you can identify any issues with the charging process and confirm if the Chromebook is receiving power from the adapter. This diagnostic step is essential for troubleshooting any charging problems that may be affecting your Chromebook's power delivery.
When a Chromebook fails to charge despite being plugged in, potential causes may include a faulty power connection, damaged charging components, or software glitches. It's advisable to troubleshoot the issue systematically to identify the root cause.
To reset a Chromebook battery, perform a hard reset by holding the Refresh and Power buttons simultaneously. This action clears the computer's memory without affecting local files or settings. For persistent issues, contact HP support.
To address a charged Chromebook that won't turn on, check for power connection, perform a hard reset, and examine the charging indicator light. If issues persist, assess battery health using Chrome Diagnostics and contact HP support for further assistance.
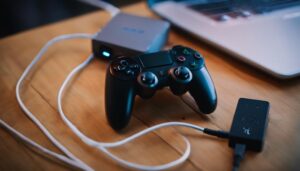
Another way to charge a Chromebook is through the USB-C port. Supporting USB Power Delivery technology, using a USB-C power bank or charger can offer flexibility and efficient charging. Ensure compatibility with the Chromebook's power requirements for optimal performance.
In conclusion, addressing a Chromebook not charging issue involves the following steps:
By following these steps systematically, users can troubleshoot and resolve charging problems effectively.